Introduction
Hello friends, my self Siddharth Sharma today I will install Ubuntu and LAMP stack in Oracle Cloud Free Tier. In this we will use Bitwise SSH client and install it with commands, and transfer files from one server to another.
What Is Oracle Cloud
Oracle Cloud is a cloud computing platform provided by Oracle Corporation, one of the leading enterprise software and database technology companies. Oracle Cloud offers a comprehensive suite of cloud services, including infrastructure as a service (IaaS), platform as a service (PaaS), and software as a service (SaaS).
Here are some key aspects of Oracle Cloud:
- Infrastructure as a Service (IaaS): Oracle Cloud provides on-demand computing resources, including virtual machines, storage, and networking infrastructure. Users can deploy and manage their applications and services on Oracle Cloud’s scalable and flexible infrastructure.
- Platform as a Service (PaaS): Oracle Cloud offers a range of platform services that enable developers to build, deploy, and scale applications without managing the underlying infrastructure. This includes services for databases, application development, analytics, and more.
- Software as a Service (SaaS): Oracle Cloud provides a variety of pre-built, cloud-based applications for areas such as enterprise resource planning (ERP), human capital management (HCM), customer experience (CX), and more.
- Database Services: Oracle Cloud is particularly known for its robust database offerings. It provides managed database services like Oracle Autonomous Database, which is a self-driving, self-repairing, and self-securing database service that automates many maintenance tasks.
Why Oracle Cloud
- Enterprise-Grade Solutions: Oracle Cloud is designed to meet the demanding requirements of enterprise customers, providing highly available, scalable, and secure cloud services.
- Integration with Oracle Products: If an organization is already using Oracle software, databases, or applications, Oracle Cloud offers a seamless integration environment.
- Autonomous Capabilities: Oracle Autonomous Database, for example, reduces the need for manual intervention in database management, improving efficiency and reducing the risk of human errors.
- Comprehensive Cloud Services: Oracle Cloud provides a wide range of services, including computing, storage, networking, analytics, machine learning, and more, catering to diverse business needs.
- Global Data Centers: Oracle Cloud has a global network of data centers, allowing organizations to deploy resources in regions that suit their data residency and performance requirements.
- Security and Compliance: Oracle Cloud emphasizes robust security features and compliance with various industry standards, making it suitable for organizations with strict security and regulatory requirements.
Oracle Cloud
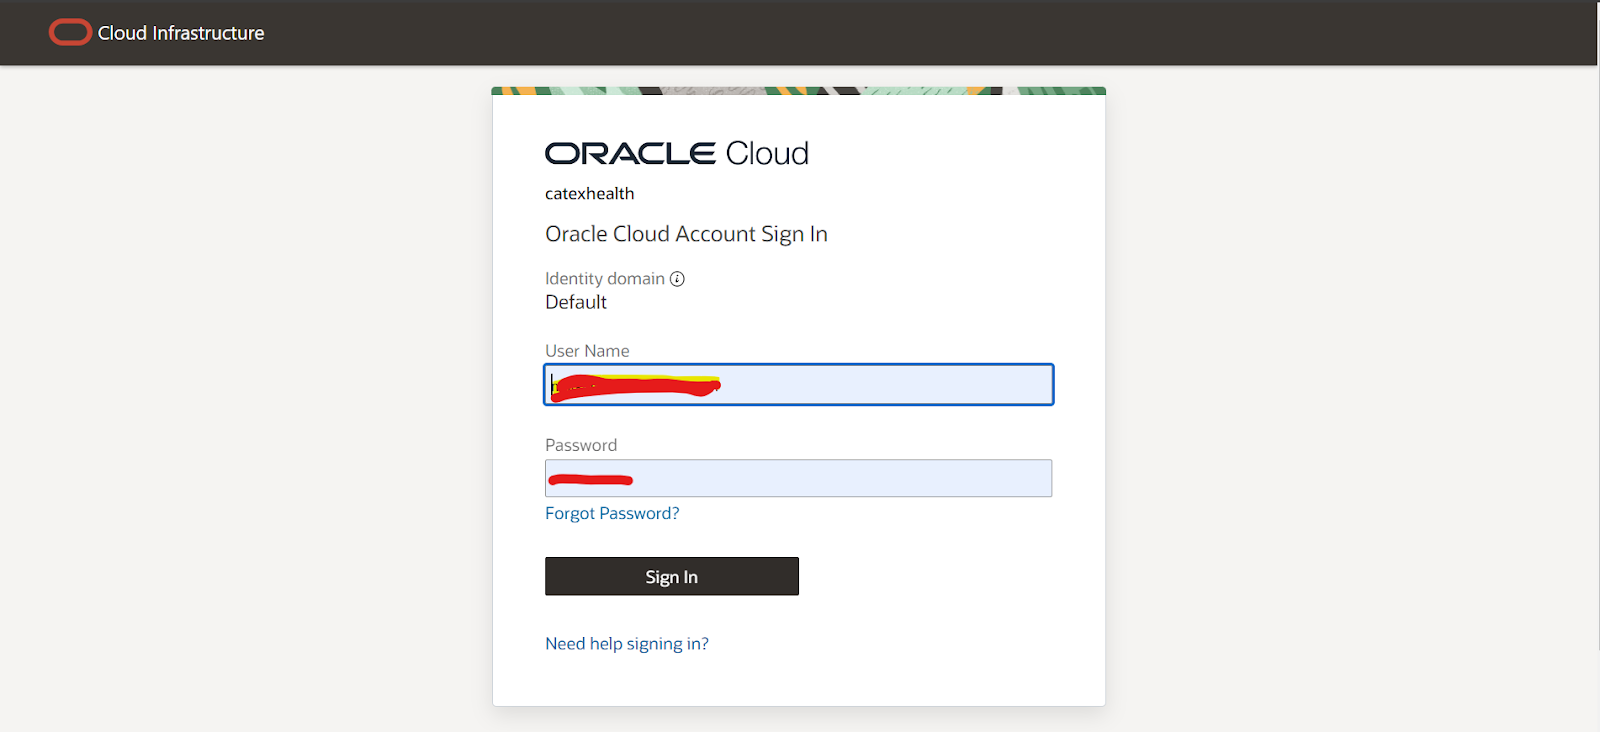
- First of all let us login to Oracle Cloud.
- Then we will go to Create Instance and enter the name of the new instance there.
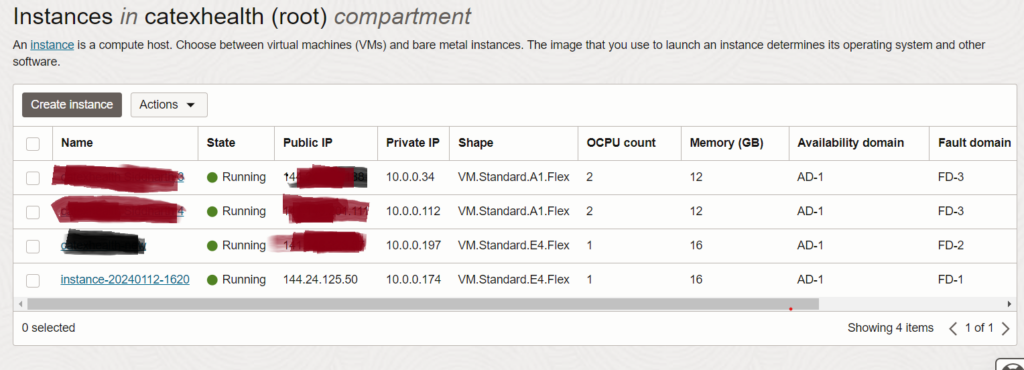
- Click on the disk and select Ubuntu, and then select the version of Ubuntu. & Then click on tier and select VM .Standard.A1.Flex
Like :- .

- Then we’ll come down and download both the public/private ssh keys.
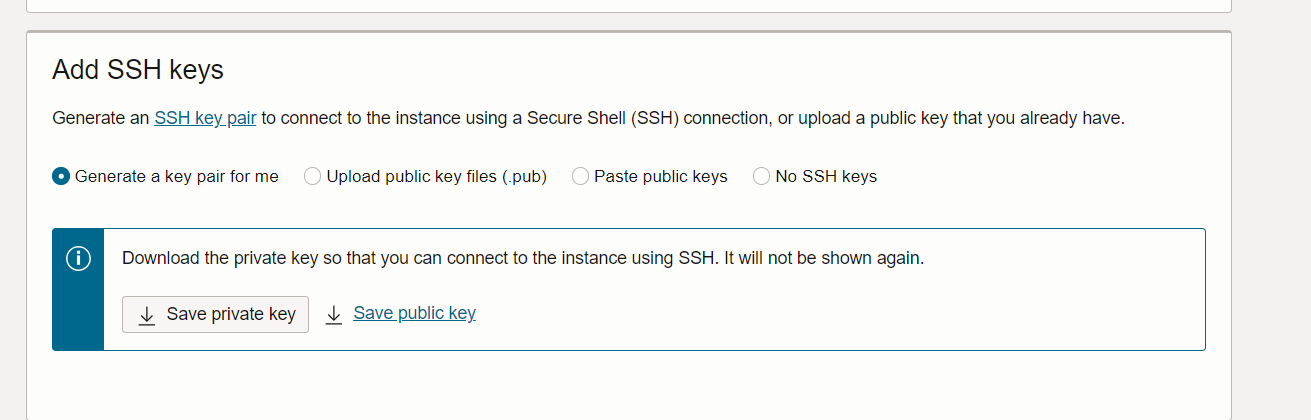
- Then click on Create Instant
Final View

SSH Software
- download bitvise ssh client Donwload
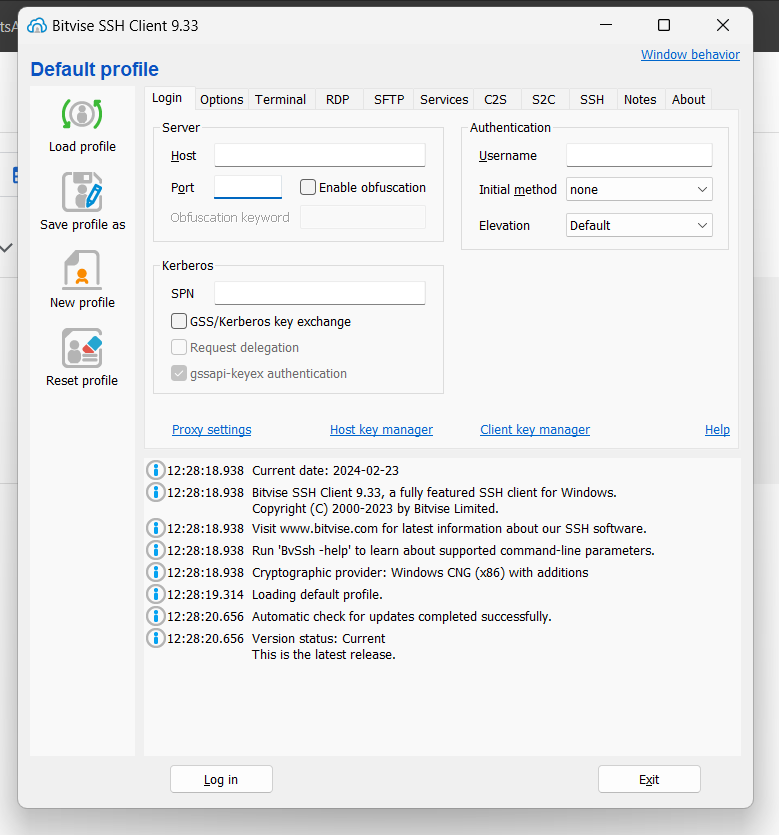
- Then in the software we will enter server lap/host and select port. In authentication, select the username of your server as public in the following method.
- Then we will go to Host Key Manager.
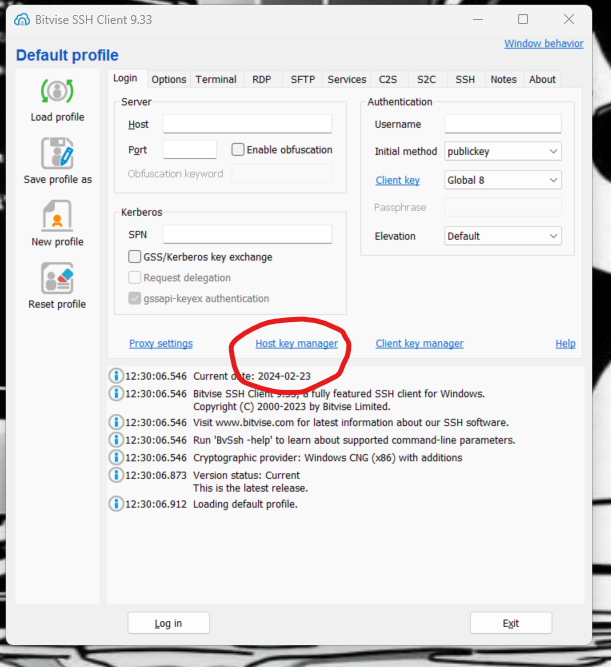
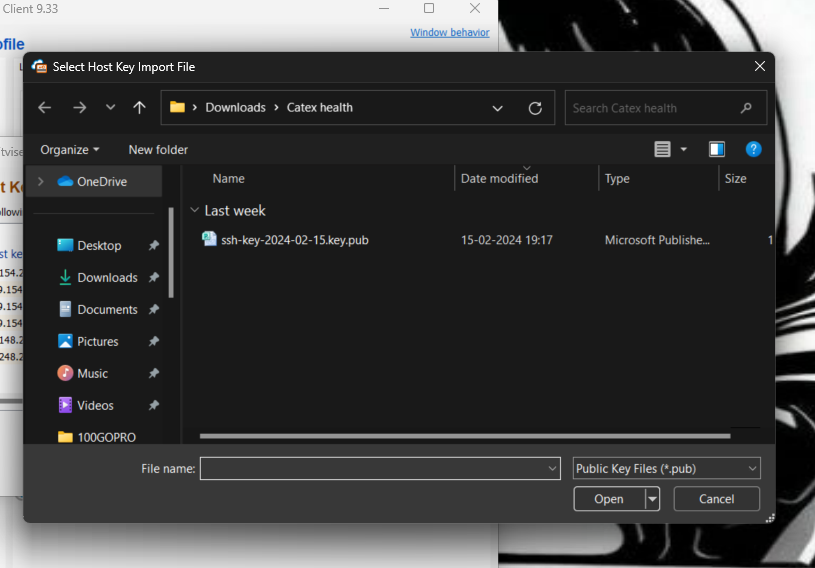
- Here we will import our public key
- Then we will go to the client key manager and there we will generate a new key.
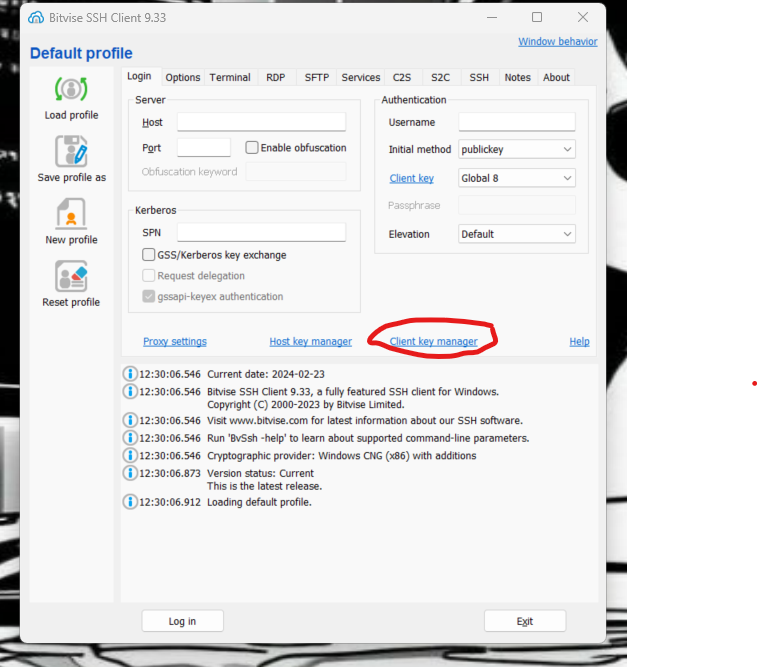

- Then in authentication, select your username and public key and then select your key in the client key.
Like this :-
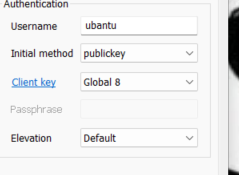
- Then click on login and then click on terminal to start.
Installing Lamp Stack
To install the LAMP (Linux, Apache, MySQL, PHP) stack on Ubuntu, you can use the following commands. Open a terminal and run these commands one by one
- Update the package list:
sudo apt update
- Install Apache:
sudo apt install apache2
- Install MySQL server::
sudo apt install mysql-server
During the installation, you will be prompted to set a root password for MySQL:
- Installing PHP And Its Modules:
sudo apt install php libapache2-mod-php php-mysql
- After installing PHP, you may need to restart the Apache service:
sudo systemctl restart apache2
Now, you have successfully installed the LAMP stack on your Ubuntu system. You can test the installation by creating a PHP file in the web server’s root directory (usually /var/www/html) and accessing it through a web browser. For example:
Note :- If You Want install phpMyAdmin, which is a web-based administration tool for MySQL, you can follow these steps:
Install phpMyAdmin:
Install phpMyAdmin:
sudo apt install phpmyadmin
During the installation, you’ll be prompted to choose a web server. Use the arrow keys to select apache2 and press Enter. After that, you’ll be asked to configure the database for phpMyAdmin with dbconfig-common; choose Yes.
Configure Apache To Recognize phpMyAdmin :
sudo nano /etc/apache2/apache2.conf
Add the following line at the end of the file:
Include /etc/phpmyadmin/apache.conf
Save and exit the text editor. If you’re using a different text editor like vim or gedit, adjust the command accordingly.
Now, you should be able to access phpMyAdmin by visiting http://localhost/phpmyadmin in your web browser.
Note
If You Face This Problem :-

Turn Off The Firewall Form The Following Command In The Terminal :-
iptables -F
Then Save It
sudo netfilter-persistent save
Create Zip File
- To install the zip package (if not already installed), you can run:
sudo apt-get install zip
- Once installed, you can create a zip file using the following syntax:
zip -r archive.zip /path/to/directory
Replace “archive.zip” with the desired name for your zip file and “/path/to/directory” with the path to the directory you want to compress.
Transfer File From 1 Server To Another Server
The wget command is a utility in Unix and Unix-like operating systems used to download files from the web. It is a simple command-line tool with various options. Here’s a basic explanation along.
Wget https://examole.com/file.zip
Uzip File
- If unzip is not already installed, you can install it using the package manager:
sudo apt-get install unzip
- Once unzip is installed, you can use the following command to unzip a file:
unzip filename.zip

unzip filename.zip -d /path/to/destination
Create Restore MYSQL Database
To Create Restore Of My Sql Database Using Mysqldump
mysqldump -u your_username -p your_database_name > backup_file.sql
Replace the following placeholders:
- your_username: Your MySQL username.
- your_database_name: The name of the database you want to back up.
- backup_file.sql: The name of the file where the backup will be saved.
When you run this command, you’ll be prompted to enter your MySQL password. After providing the password, mysqldump will generate a SQL file containing the structure and data of your specified database.
Updating config.php of codeignitor
Open the config.php file with a text editor. For nano, you can use the following command :
nano application/config/config.php
If You get Permission Error Run
Sudo nano application/config/config.php
Save the changes by pressing Ctrl + O, then press Enter
Exit the editor by pressing Ctrl + X.
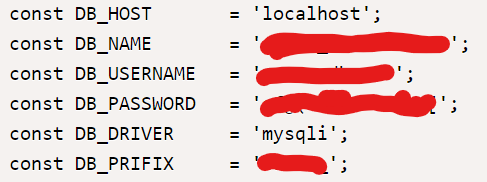
Update your
New DB_Name ,
DB_Username ,
Password
Conclusion
In conclusion, this step-by-step guide by Siddharth Sharma has provided a comprehensive walkthrough for migrating a CodeIgniter website to the Oracle Cloud Free Tier. The guide covered essential steps, starting from creating an instance on Oracle Cloud, setting up Ubuntu and LAMP stack, installing and configuring necessary software like Bitvise SSH client and phpMyAdmin, to transferring files between servers.
Siddharth highlighted the advantages of Oracle Cloud, emphasizing its enterprise-grade solutions, seamless integration with Oracle products, autonomous capabilities, and a wide range of comprehensive cloud services. The guide also addressed potential issues, such as firewall configurations and provided solutions to overcome them.
The detailed instructions for creating a zip file, transferring files using the wget command, and managing MySQL databases with mysqldump demonstrated a thorough understanding of the migration process. The instructions on updating the config.php file in CodeIgniter underscored the importance of adjusting database settings to match the new environment.
In essence, Siddharth Sharma’s guide serves as a valuable resource for users looking to migrate their CodeIgniter websites to Oracle Cloud Free Tier, offering a systematic and clear approach. Users following these steps should be well-equipped to navigate the migration process smoothly and efficiently.

Hey everyone, I’m Siddharth Sharma, a new software developer. I love making tech stuff easy to understand and solving coding puzzles in fun and creative ways. Let’s learn and grow together!